Supported Services
Vantage supports the following GitHub services:- Actions
- Large File Storage
- Copilot
- Codespaces
- Shared Storage
- Packages
- In addition to these services, you can also use existing Vantage tagging capabilities to track the underlying compute costs for self-hosted runners that run on a virtual machine, such as an EC2 instance, or in Kubernetes.
Migrate to the New GitHub Billing Integration
Previously, Vantage ingested GitHub costs using a Vantage-owned billing manager account that customers added to their GitHub Organization or Enterprise (released in September 2024). This approach required users to manually invite a billing email address, which had limitations, such as incompatibility for organizations who use SSO authentication. The second version of this integration (released in March 2025) uses the GitHub Enhanced Billing API. Any Vantage customer that is using GitHub services today and has been migrated to the Enhanced Billing API can use the new integration. GitHub started migrating customers to their new billing platform in September 2024, with all accounts being migrated by the end of March 2025. See the Prerequisites section below for instructions on how to validate if you’ve been migrated.For customers on the first version of the Vantage integration, Vantage does not have a way of migrating to the new integration on your behalf. You will need to install the Billing - vantage-sh application in your organization to use the new GitHub integration. See the Create the Connection section below for instructions on how to complete this new integration.
How Vantage Integrates with GitHub
The Vantage–GitHub integration requires the Billing - vantage-sh GitHub application added to your GitHub organization. Once installed, Vantage can access cost and usage data through the Enhanced Billing /usage API, which provides structured cost data for GitHub Actions, such as build minutes by user and repo, as well as the associated infrastructure used to perform the build. You can see cost and usage, such as per-repository billing for Actions, Copilot UserMonths, Copilot AI Credits with theAICredits usage unit, and GigabyteHours of Shared Storage. To allocate the infrastructure costs for your self-hosted runners, you can create a Cost Report that includes both GitHub costs and the related EC2 or EKS costs, based on tags or labels.
GitHub started moving Copilot plans to usage-based billing on June 1, 2026. Vantage ingests Copilot AI Credits through the existing GitHub integration, and these usage records are available under the GitHub Copilot AI Credits category in Cost Reports. See GitHub’s usage-based billing announcement for details.
As noted in the GitHub documentation, access to the GitHub Enhanced Billing APIs requires
"Administration" organization permissions (read).Vantage has configured an IP address allow list for the Vantage GitHub app. If your organization or enterprise has IP address allow lists enabled, you can selectively inherit the App’s IP allow list when installing it, which will automatically add Vantage’s IP addresses to your organization’s allow list. Alternatively, you can manually add Vantage’s IP addresses to your organization’s allow list. The IP addresses that Vantage uses are listed on the Security page.
Connect Your GitHub Account
Follow the steps in this section to install the Billing - vantage-sh GitHub application and ingest GitHub costs into Vantage.Prerequisites
You must be a GitHub Organization Owner to install the Billing - vantage-sh GitHub application. You must also have been migrated to the GitHub Enhanced Billing API. The new GitHub Enhanced Billing platform is available to:- All enterprise accounts, and their organizations, created after June 2, 2024
- Enterprises that participated in the public preview program
- Enterprises that have received a notice 30 days before their migration (see the GitHub blog)
- Navigate to
https://github.com/enterprises/{name}/billing(for Enterprise accounts) orhttps://github.com/organizations/{name}/billing(for Organization accounts), and you should see the new billing platform. - You can also navigate to
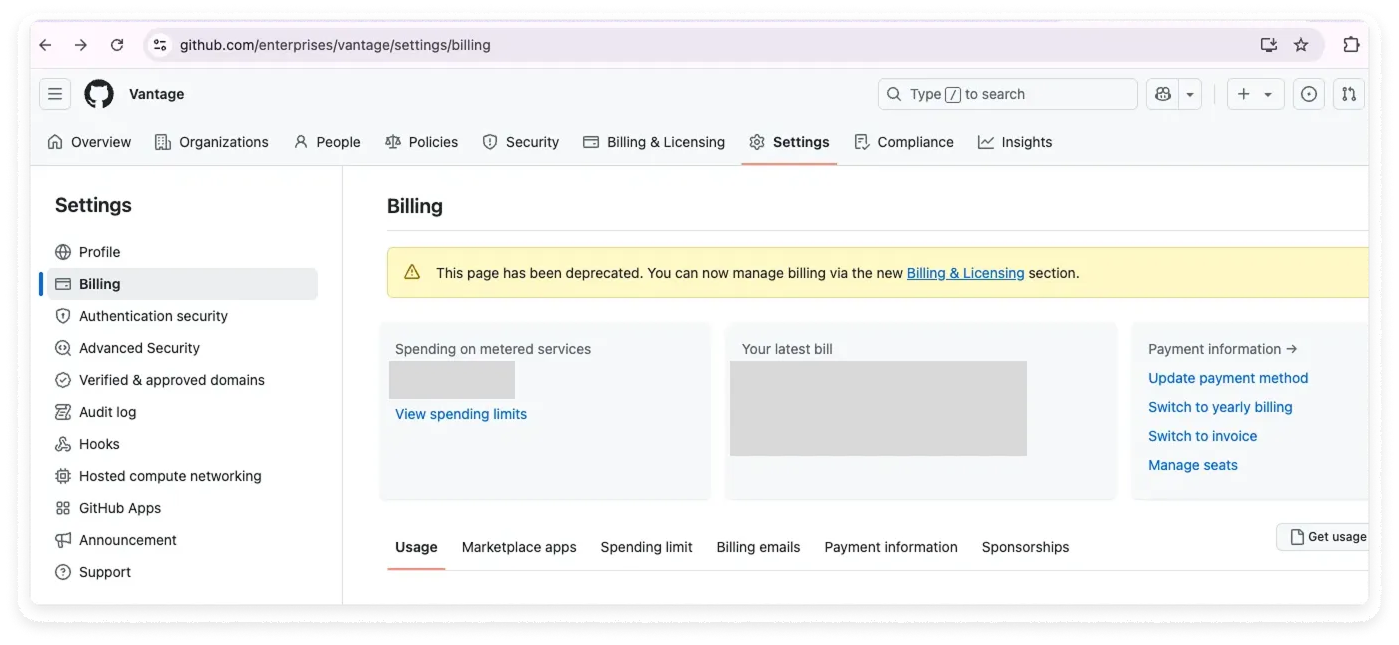
https://github.com/enterprises/{name}/settings/billing(for Enterprise accounts) orhttps://github.com/organizations/{name}/settings/billing(for Organization accounts). You should see a warning at the top of the page, indicating that the page has been deprecated.
Click to view example image
Click to view example image
- You must have a Vantage Organization Owner or Integration Owner role to add or remove this integration. See the Role-Based Access Control documentation for details.
- Create a free Vantage account, then follow the steps below to connect to GitHub.
Create the Connection
To complete the integration, you will add the application to your organization and set up the Vantage integration in the console.1
From the top navigation in Vantage, click Settings.
2
On the left navigation, select Integrations and select GitHub.
3
The GitHub integrations page is displayed. Ensure you are on the Connect tab.
4
At the bottom of the page, click Connect GitHub Account.
5
You will be asked to authorize the app for your organization.
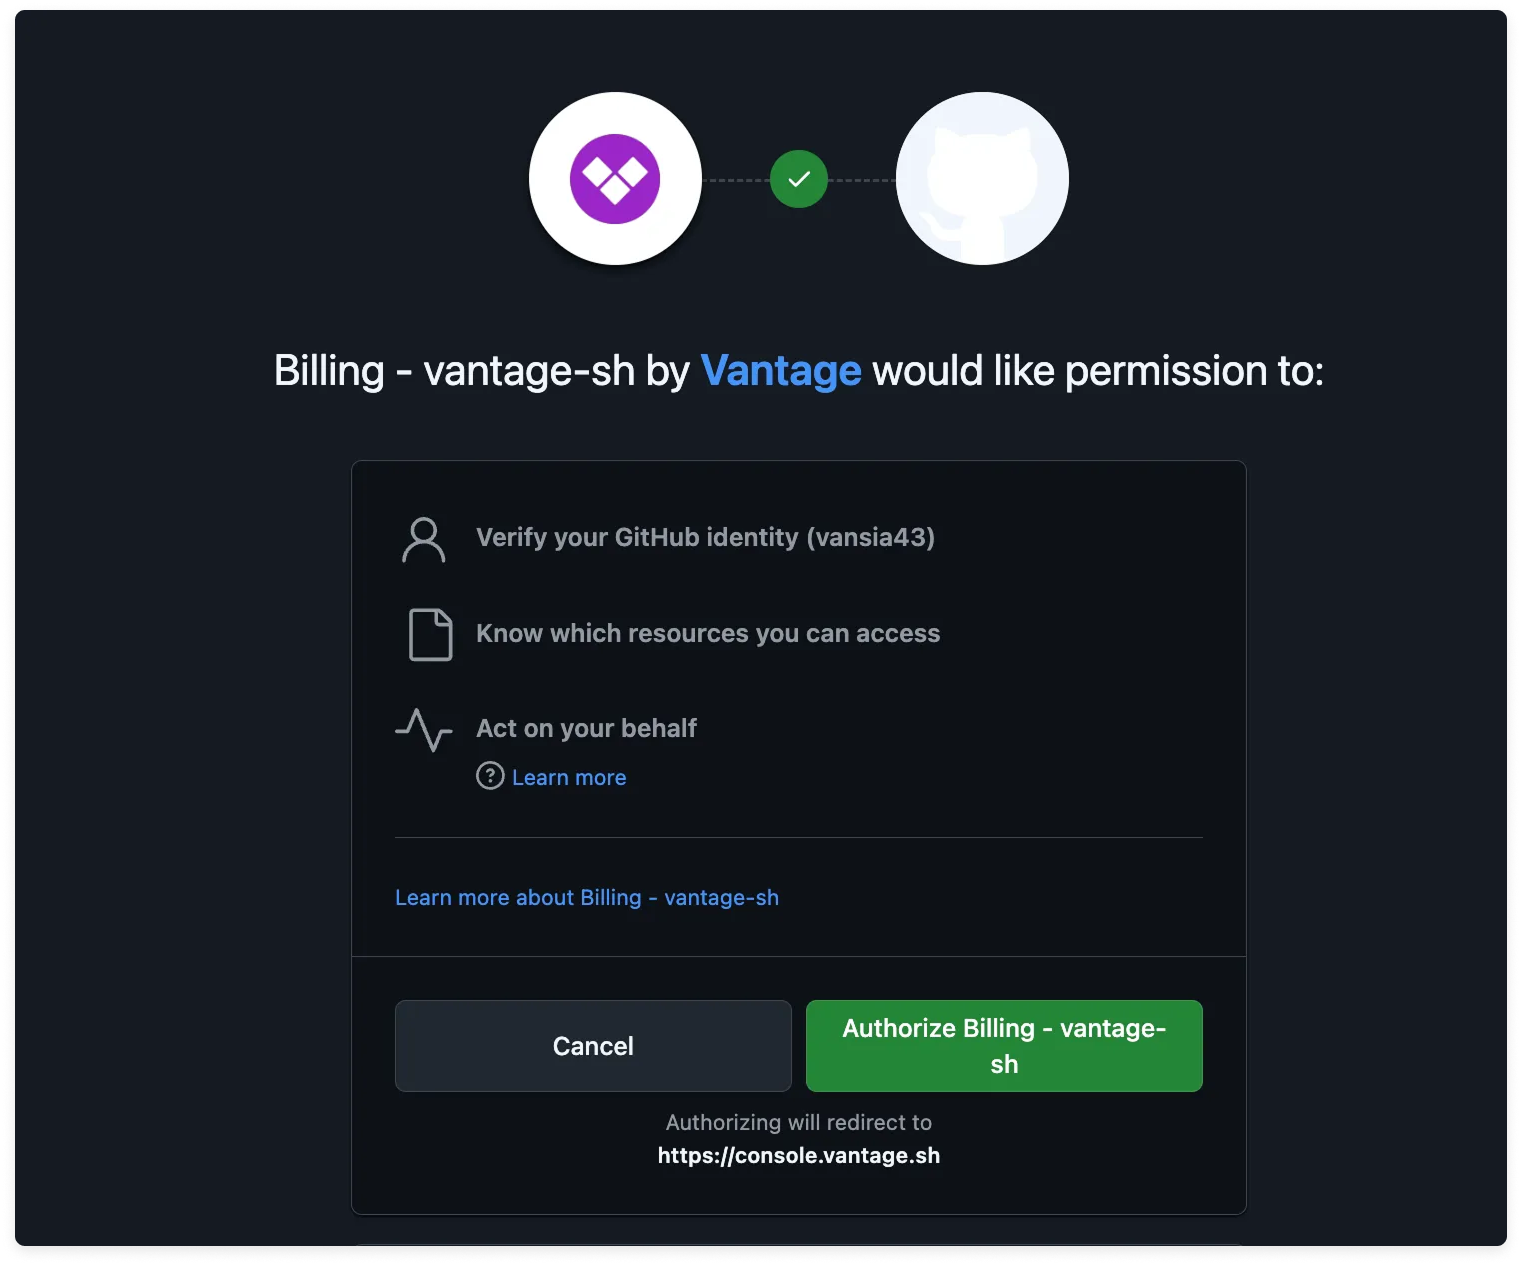
Click to view example image
Click to view example image
6
Click Authorize Billing - vantage-sh. You will be brought to a screen where you can select your organization for the integration. Select your organization to complete the integration.
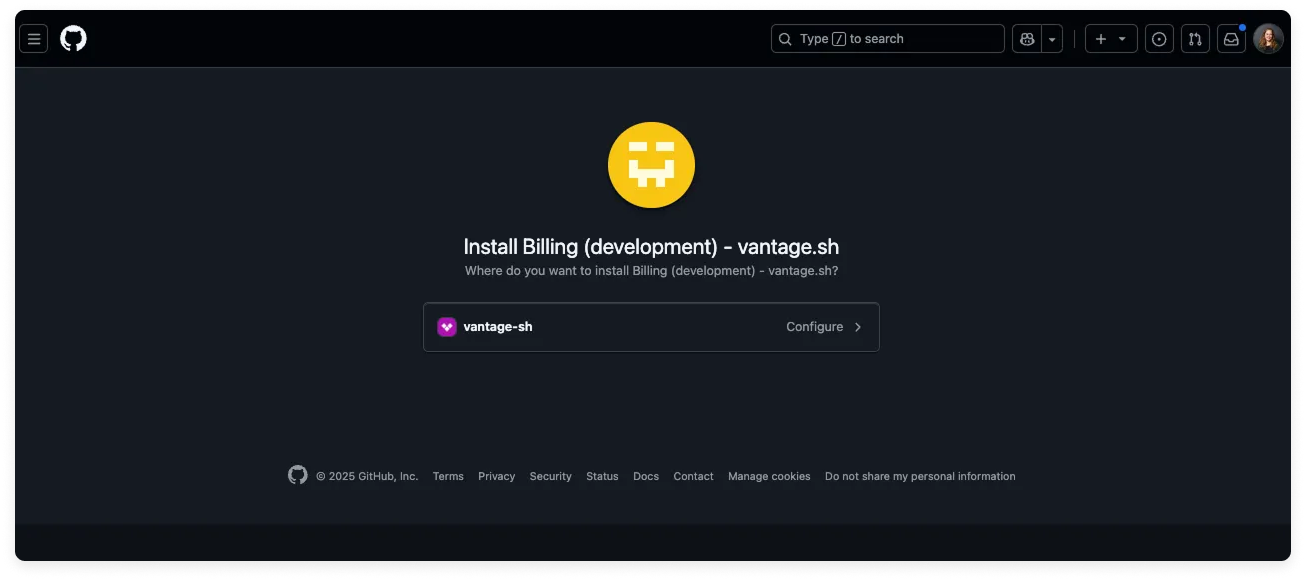
If you are part of an Enterprise, you will have to select multiple organizations.
Click to view example image
Click to view example image
When following the integration setup, Vantage will request 180 days of historical usage data from GitHub. The cost and usage data ingested from the GitHub Enhanced Billing APIs starts the day that GitHub migrates you to this new standard. Any historical data prior to this is accessible only via the previous form of the GitHub integration. As soon as costs are processed, they will be available on your All Resources Cost Report. If you decide to remove your GitHub integration from Vantage, all costs associated with your connected GitHub Organizations will be removed from the Vantage console.
Next Steps - Manage Workspace Access
Once the import is complete and the integration status changes to Stable, you can select which workspaces this integration is associated with. See the Workspaces documentation for information.Previous Integration (Pre-March 2025)
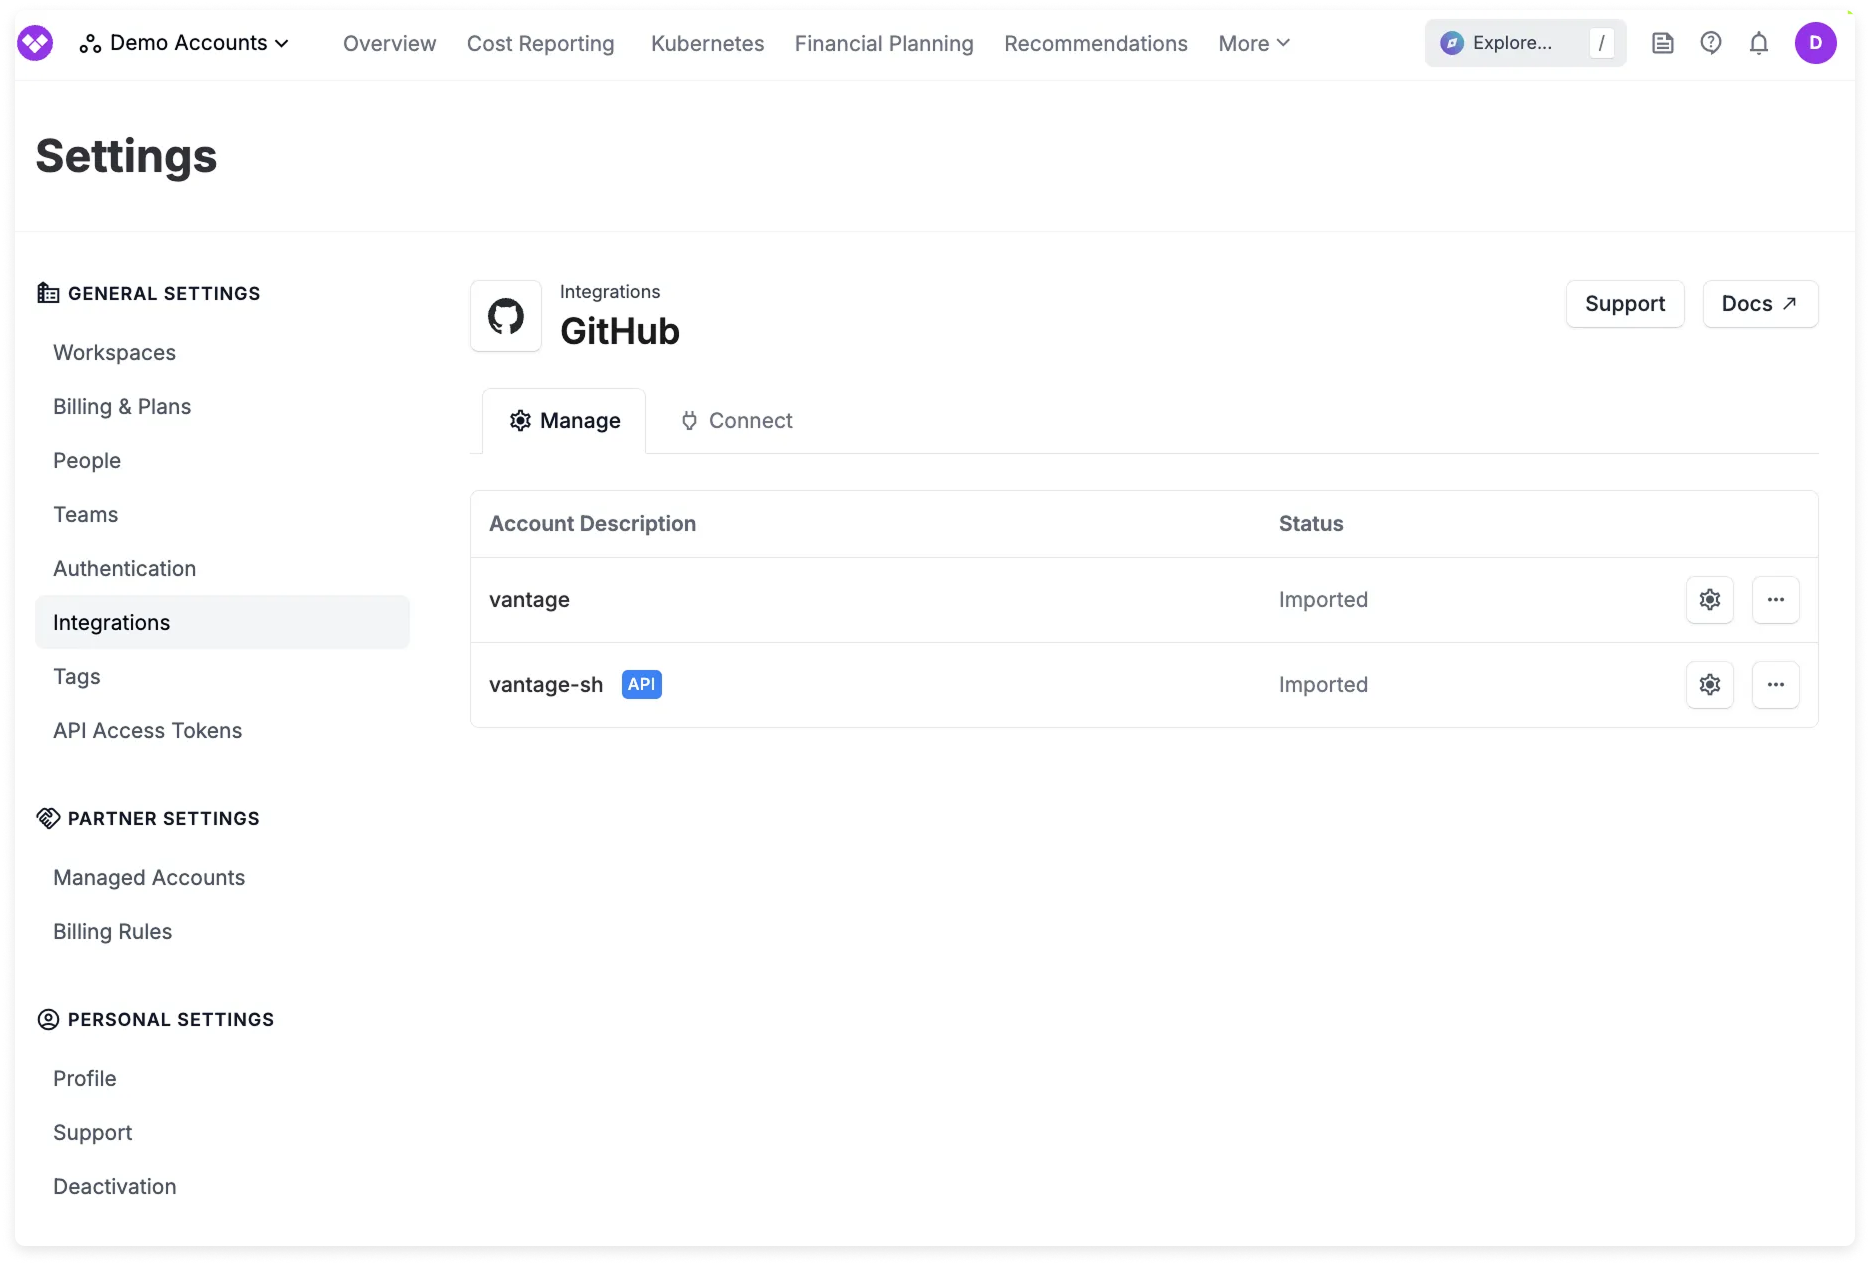
Any historical data you previously ingested into Vantage (prior to March 2025) is accessible only via the previous form of the GitHub integration. Once GitHub migrates you to the Enhanced Billing API, the previous Vantage GitHub integration will stop receiving updated data, as Vantage is no longer able to retrieve the CSV that was being used for cost and usage data. You can leave your previous integration connected to Vantage for historical billing data if you want to retain this information. On the integration settings page in Vantage, any new integrations have theAPI label displayed next to their name in the list.
Click to view example image
Click to view example image
Data Refresh
See the provider data refresh documentation for information on when data for each provider refreshes in Vantage.GitHub Reporting Dimensions
On GitHub Cost Reports, you can filter costs across several dimensions:- Organization (e.g., Organization Name)
- Service (e.g., Actions, Copilot, Packages)
- Category (e.g., Actions)
- Subcategory (e.g., Actions Linux)
- Resource (e.g., Repository Name)
- Charge Type (e.g., Usage)
- Tags: Includes Virtual Tags created in Vantage for this provider. The following tags are also available for filtering and grouping:
owner: The organization name, allowing you to filter and group costs by organization.repo: The repository name when present in the source data, allowing you to filter and group costs by repository.