> ## Documentation Index
> Fetch the complete documentation index at: https://docs.vantage.sh/llms.txt
> Use this file to discover all available pages before exploring further.
# Saved Filters
> Create reusable filter logic with Vantage Saved Filters.
Use saved filters to reuse filter logic across multiple Cost Reports. If you update the filter logic on a saved filter, all Cost Reports that use the saved filter will be automatically updated.
For example, you may have multiple Cost Reports for a specific team, business unit, or environment. If any filter criteria changes, such as tag names or account numbers, you can update the saved filter for all affected reports, without having to individually update each report.
You can also add saved filters to dashboards. See the [dashboards documentation](/dashboards) for more information.
## Create a Saved Filter
From the top navigation bar, click **Reporting**.
On the left menu, select **Saved Filters**. All existing saved filters are displayed.
Click **New Filter**.
Enter a **Filter Name**.
If you want to add a filter to a [folder](/folders), select the **Folders** tab. Then, select any applicable folders. The saved filter will be added to any existing Cost Reports within that folder, as well as any new Cost Reports you create within that folder. The saved filter will also apply to any sub-folders within that folder. For individual Cost Reports, saved filters can be assigned only from within that Cost Report. (See the next section for details.)
Under **Filters**, click **+ Add a Filter**. Select your filter criteria. You can also click **View as VQL** to [edit filter criteria as VQL](/vql#edit-vql-in-the-console) directly.
For more information about creating filters and filter options, see the [Cost Reports filter documentation](/cost_reports#filter-cost-reports).
At the top, click **Save**.
### Make a Copy of an Existing Saved Filter
You can also create a copy of any existing saved filter to use when creating a new saved filter.
At the top of any saved filter, click the **Duplicate** icon (to the left of **Save**). This action will replicate the filter logic but not the associated reports.
## Add Saved Filter to a Cost Report
Open any Cost Report.
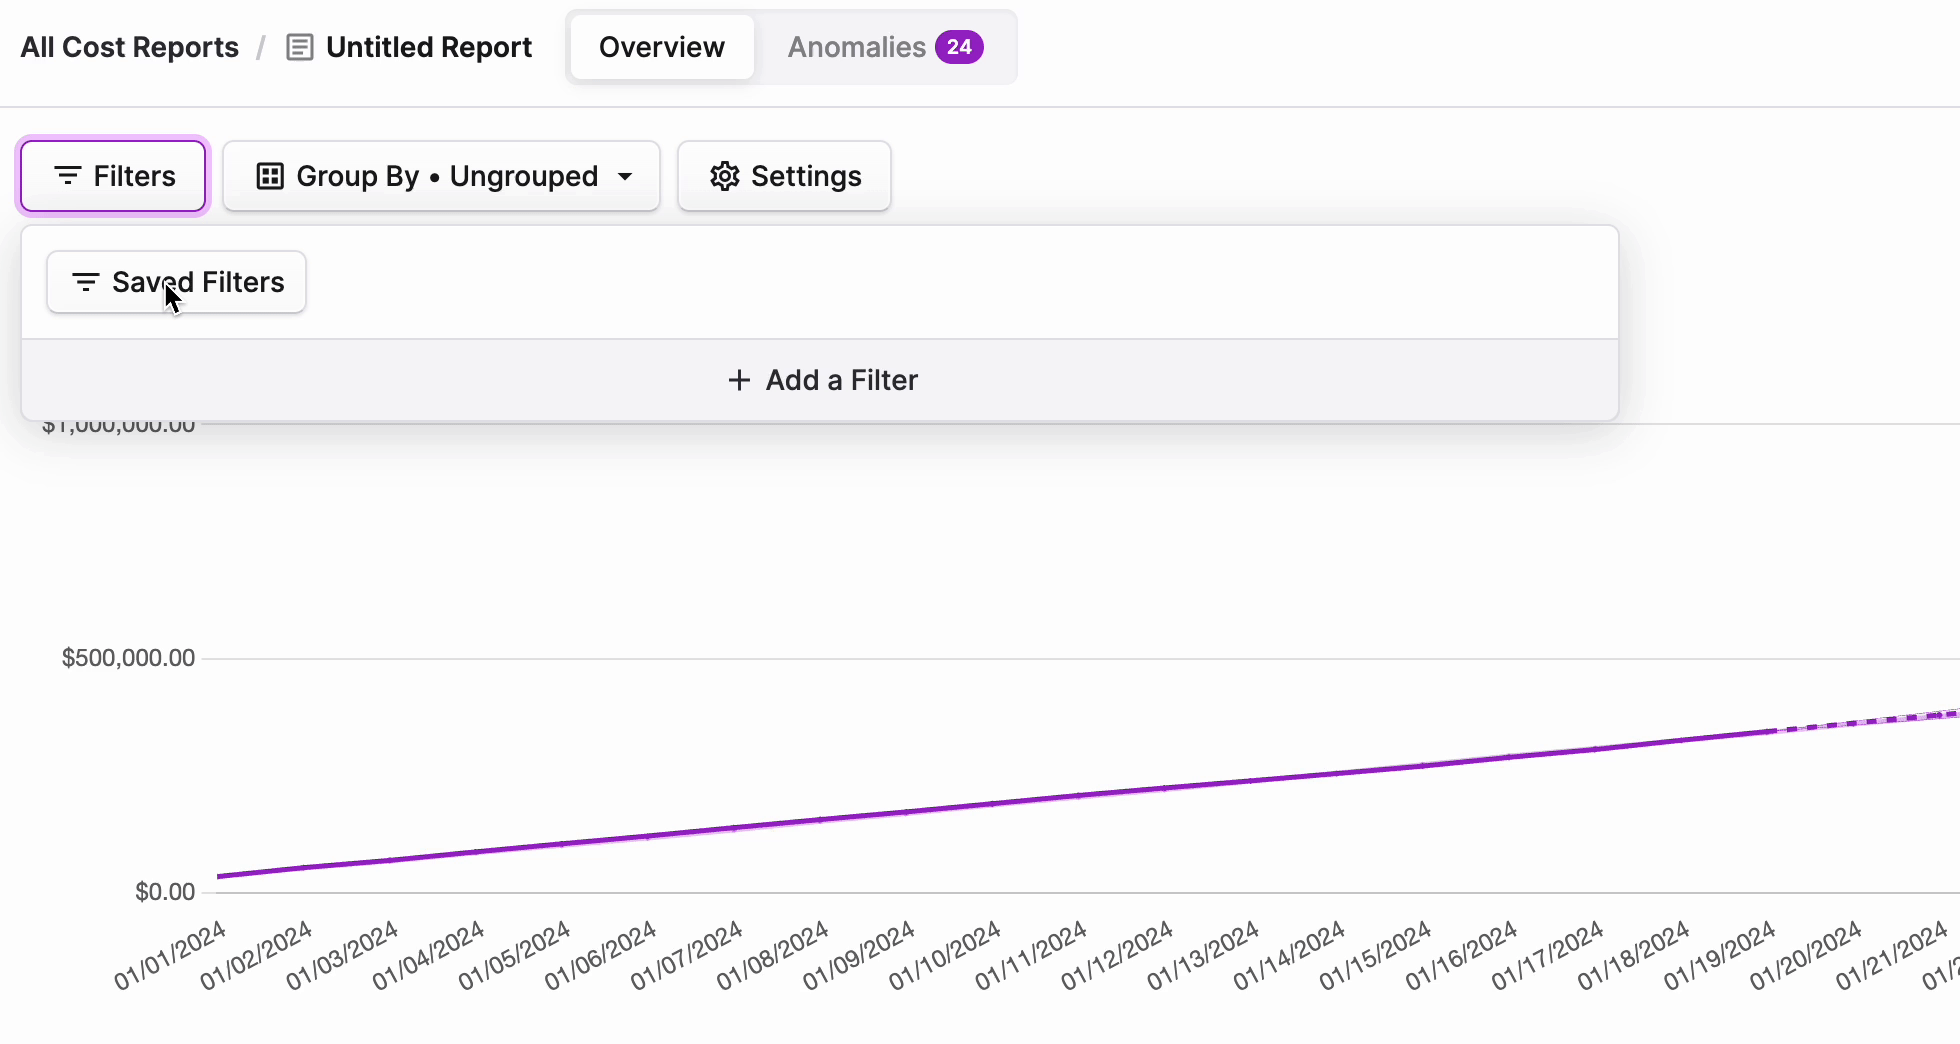
At the top, click **Filters**.
Click **Saved Filters**. A list of existing saved filters is displayed.
Select a saved filter to add it to the Cost Report. You can select multiple saved filters. You can also add additional ad-hoc filter criteria as a separate filter set.
At the top, click **Save**.
When you combine multiple saved filters on Cost Reports that have the same provider (AWS, Azure, etc.) as an ad-hoc filter or another saved filter, "AND" logic is used between each filter set (i.e., costs where Saved Filter 1 *AND* Saved Filter 2 are true).
### Saved Filters within Folders
If a saved filter is applied to a folder, you will be unable to remove it from the individual Cost Reports within that folder.
To remove the saved filter from a folder, navigate to the [Saved Filters](https://console.vantage.sh/saved_filters) page.
Then, click the ellipses (**...**) next to the saved filter and click **Edit**.
Remove the folder from the **Folders** list and click **Save**.